How To Draw a Room Plan
19th March 2021
To get started on a new project or just to get an idea of costs, one of the most important things we need is a dimensioned room plan. That may sound fancy but it’s not. You don’t need AutoCAD or any other technical software, in fact, a simple hand-drawn plan is often the best and easiest thing for us to work from.
Before I joined deVOL, I wouldn’t have known where to start so I thought this short guide might be useful and make it seem less of a big scary thing and more fun. Once you can get a room down on paper, that’s when you see all the possibilities and things start to get exciting.
So, first of all, if you have architectural plans, great! The work has all been done for you, just make sure to please send the original PDF or a version that has not been altered or reformatted in any way. If you send us a photo or screenshot, they may no longer be to scale and everything will be off. If you don’t have architectural drawings, don’t worry! It’s actually quite easy to draw up a great room plan once you know the basics. Here are our tips…
- DRAW THE FULL PERIMETER OF THE ROOM
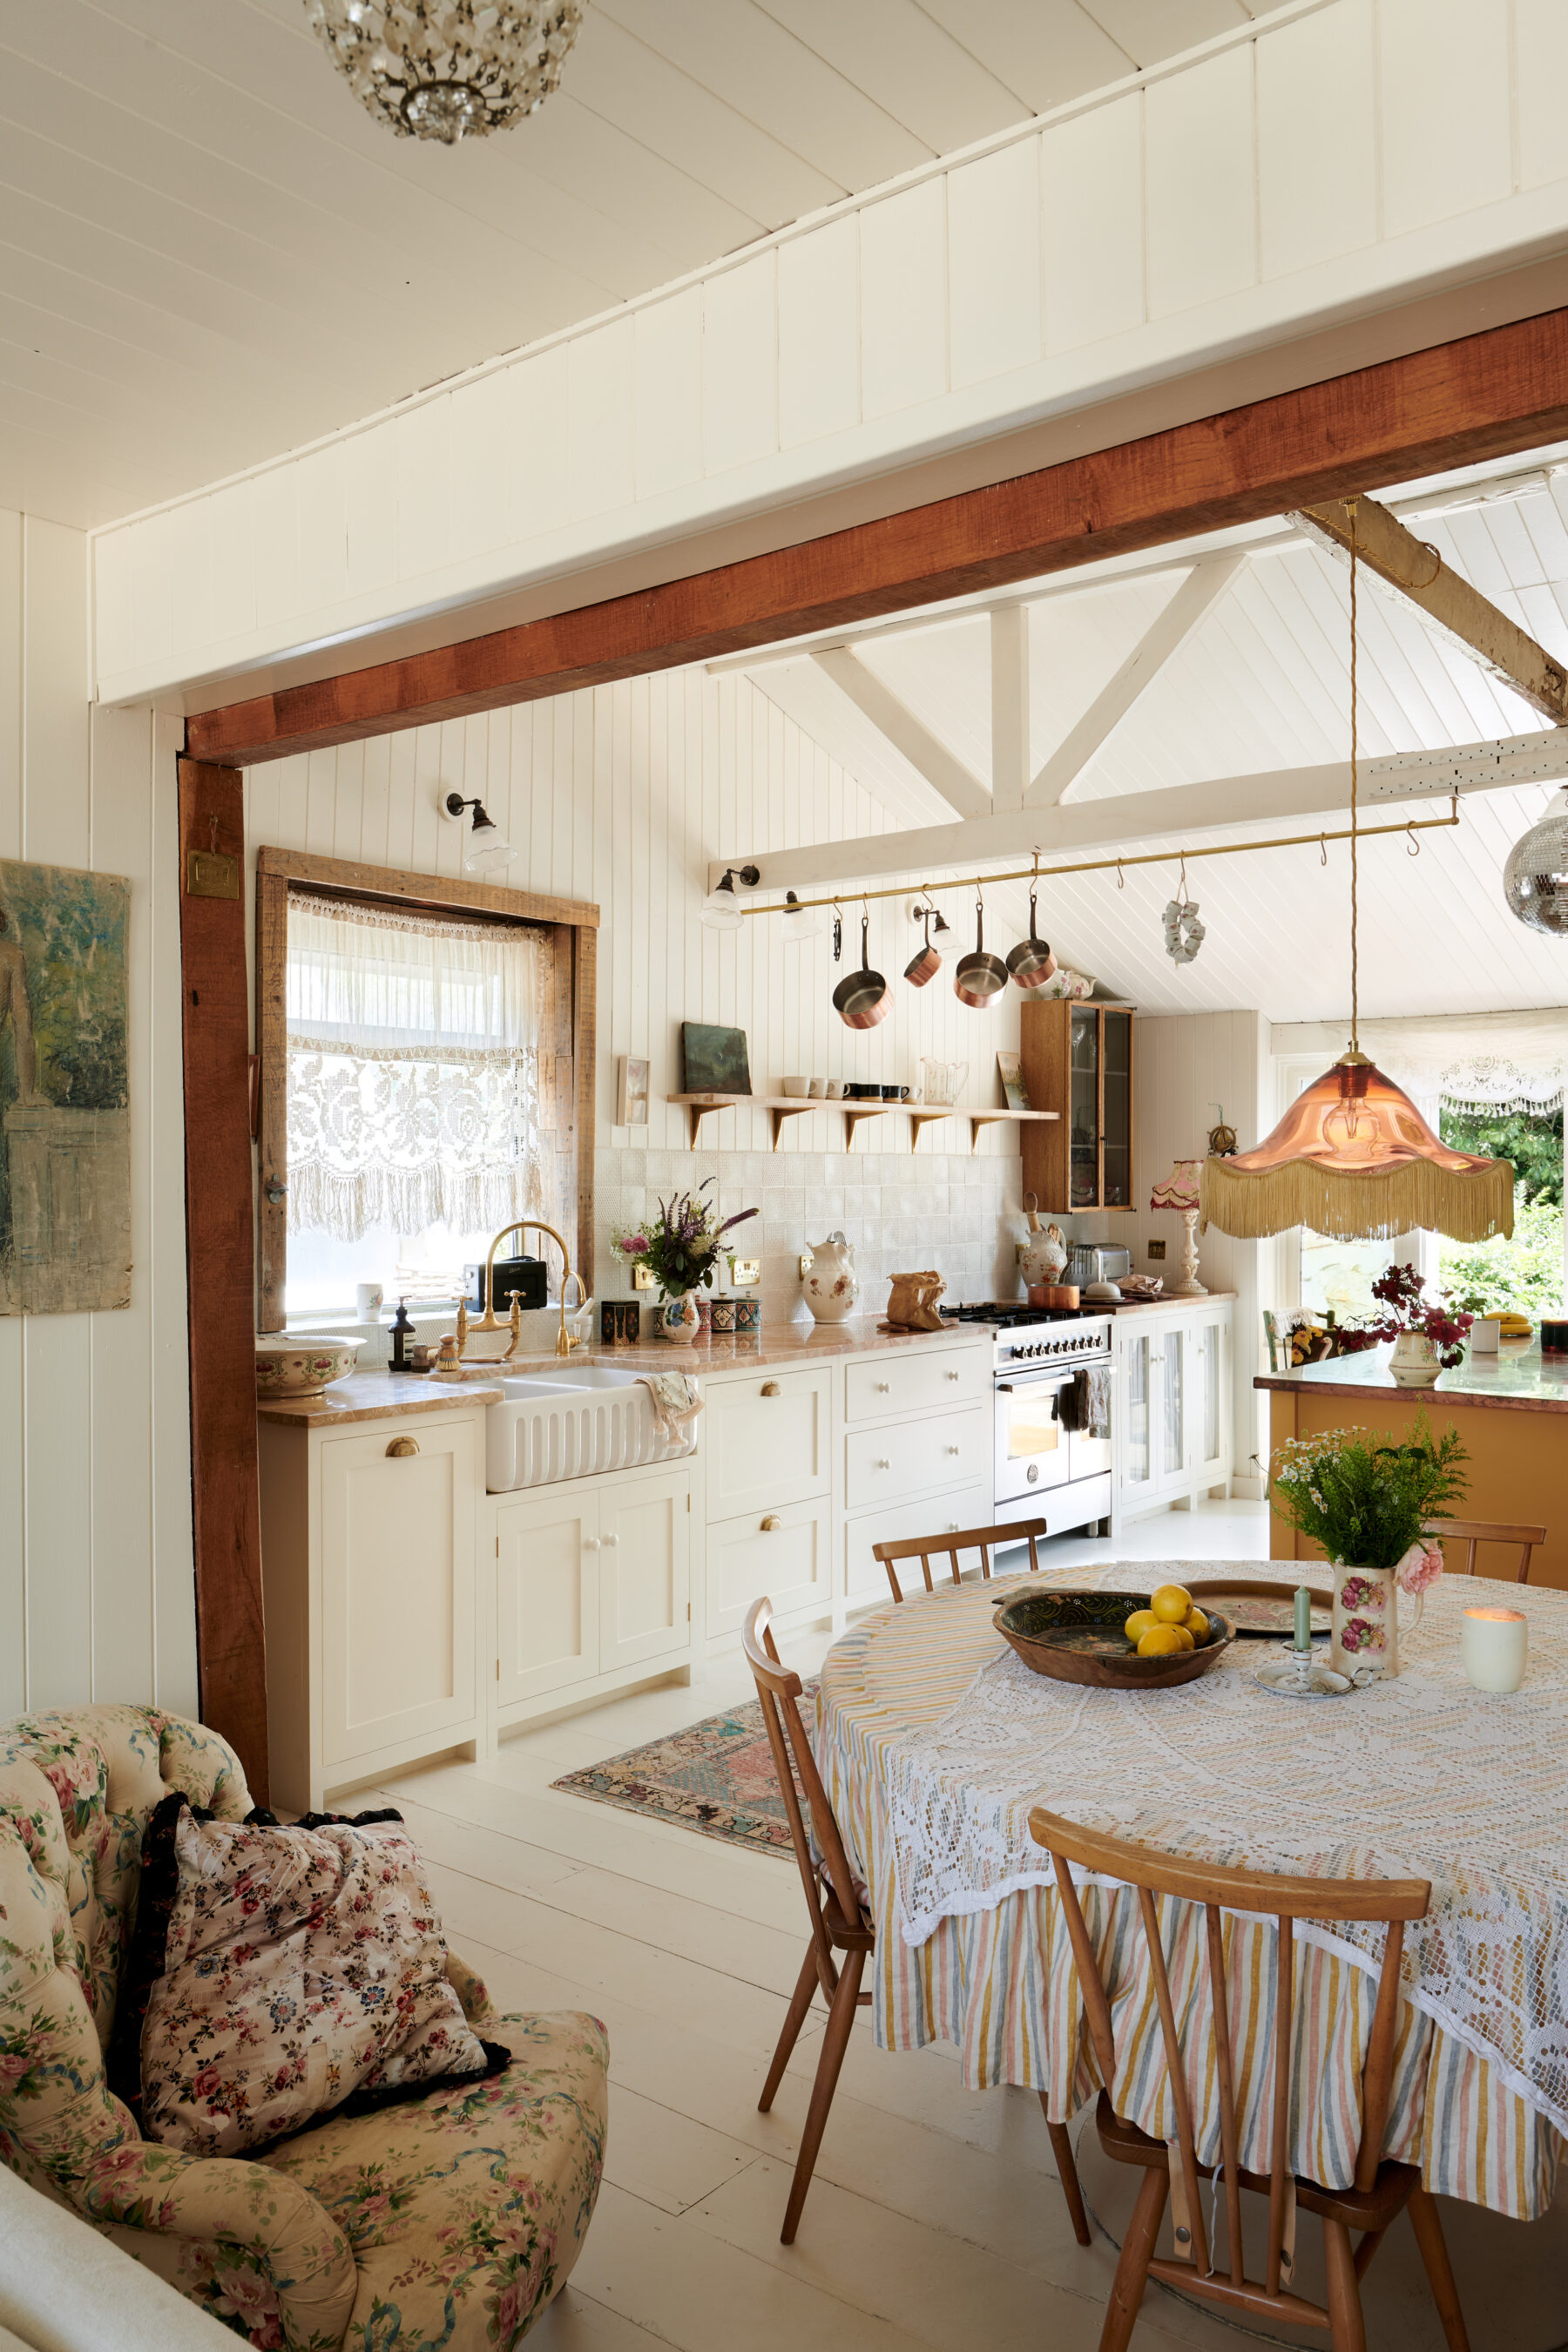
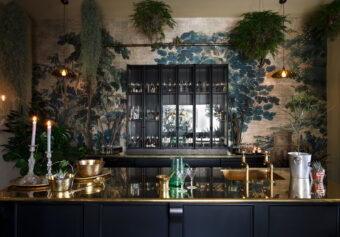
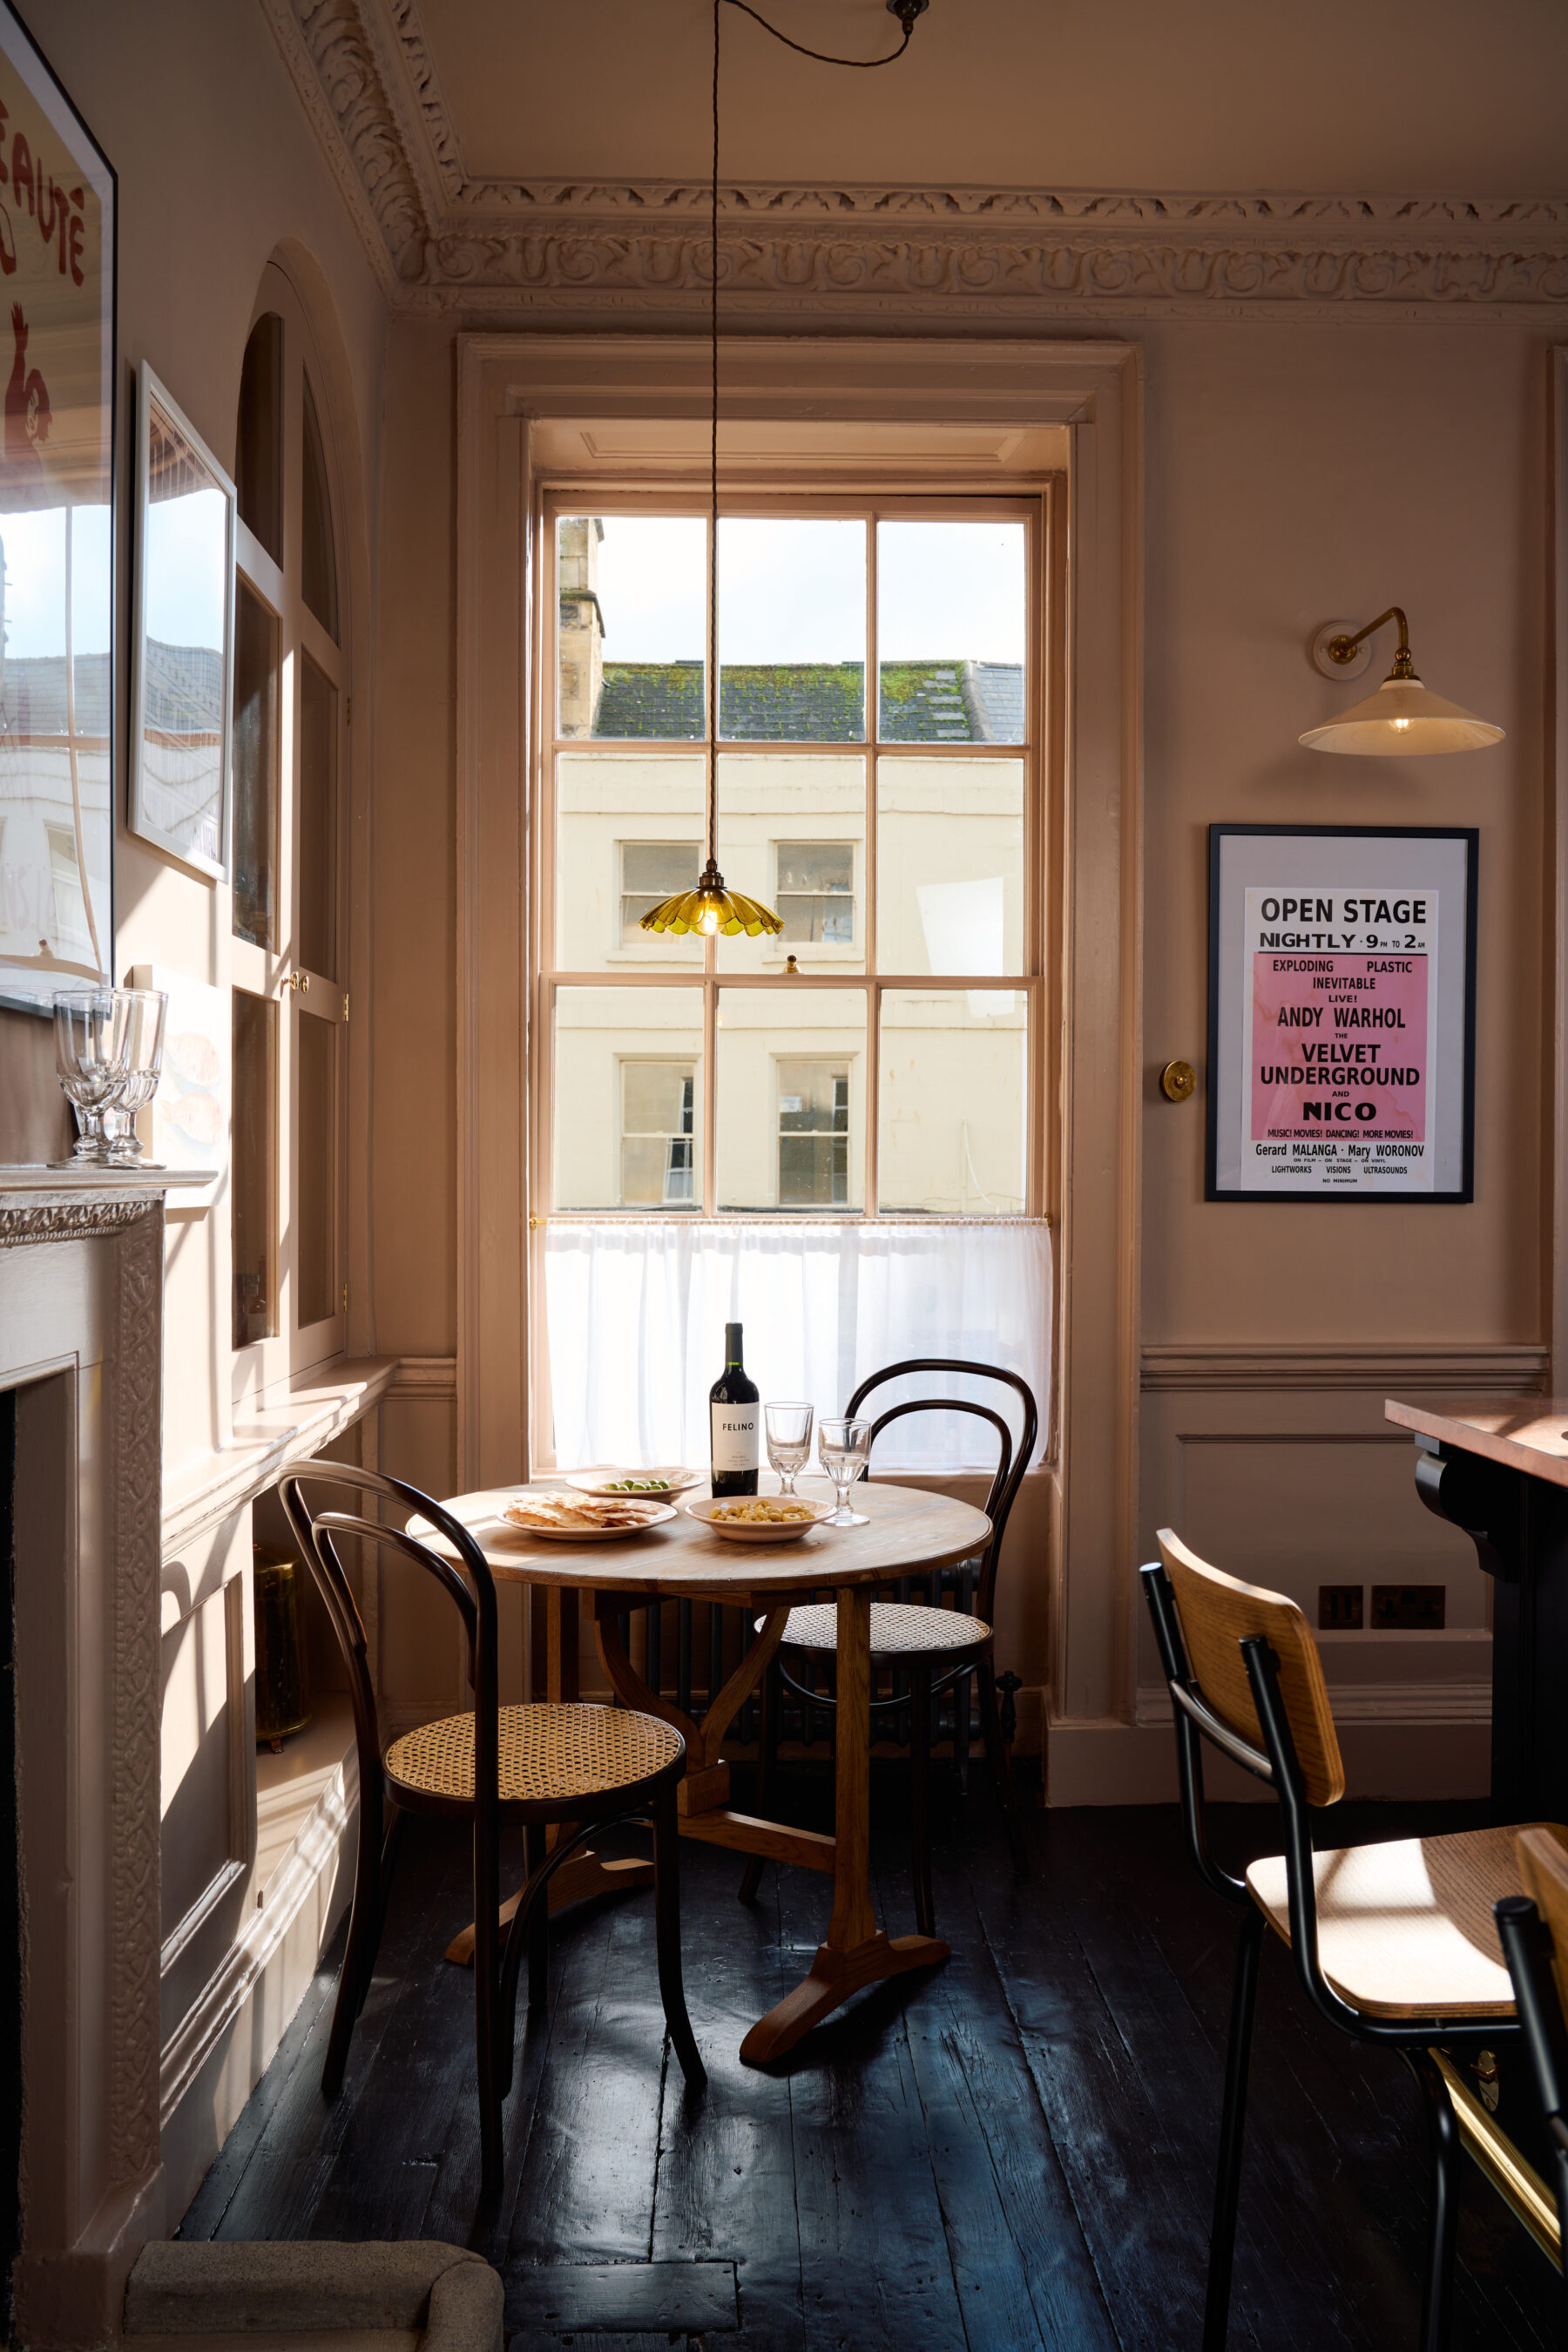
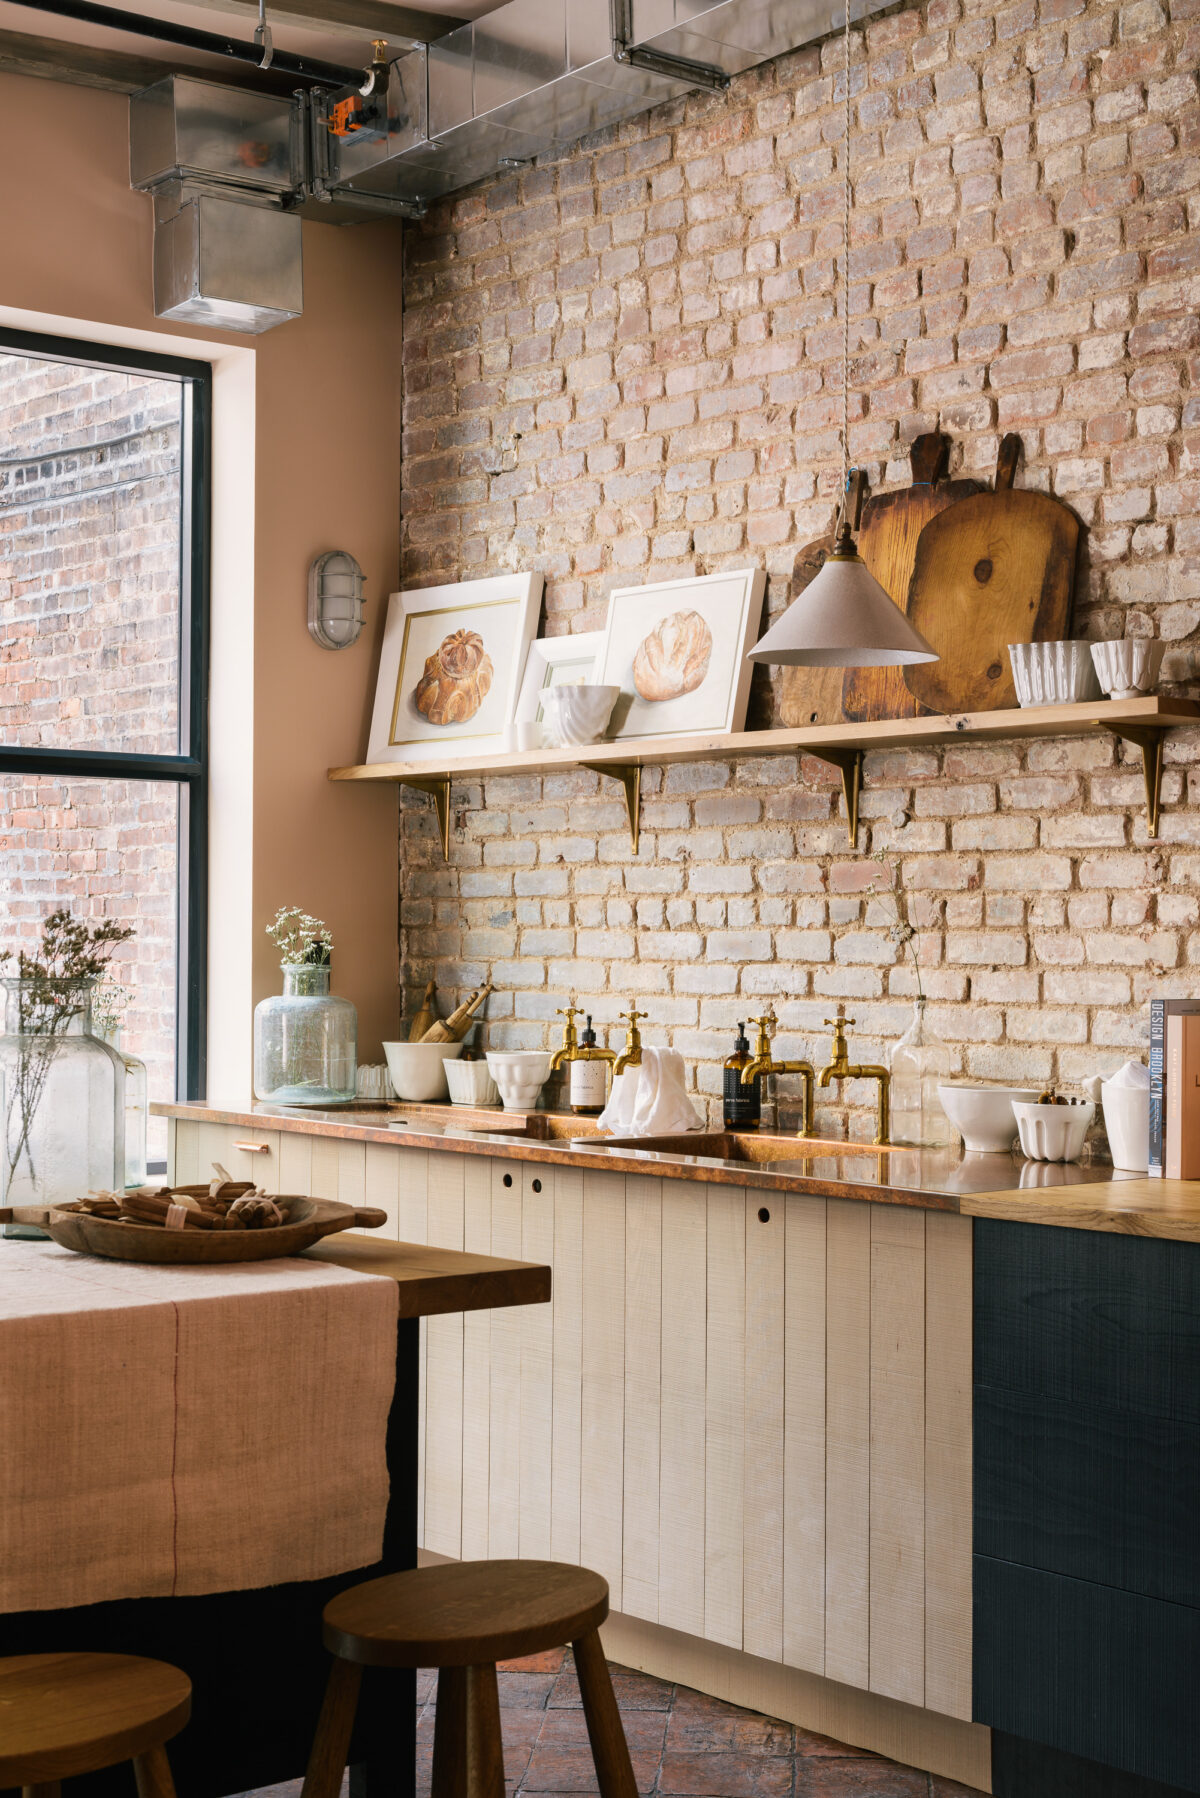
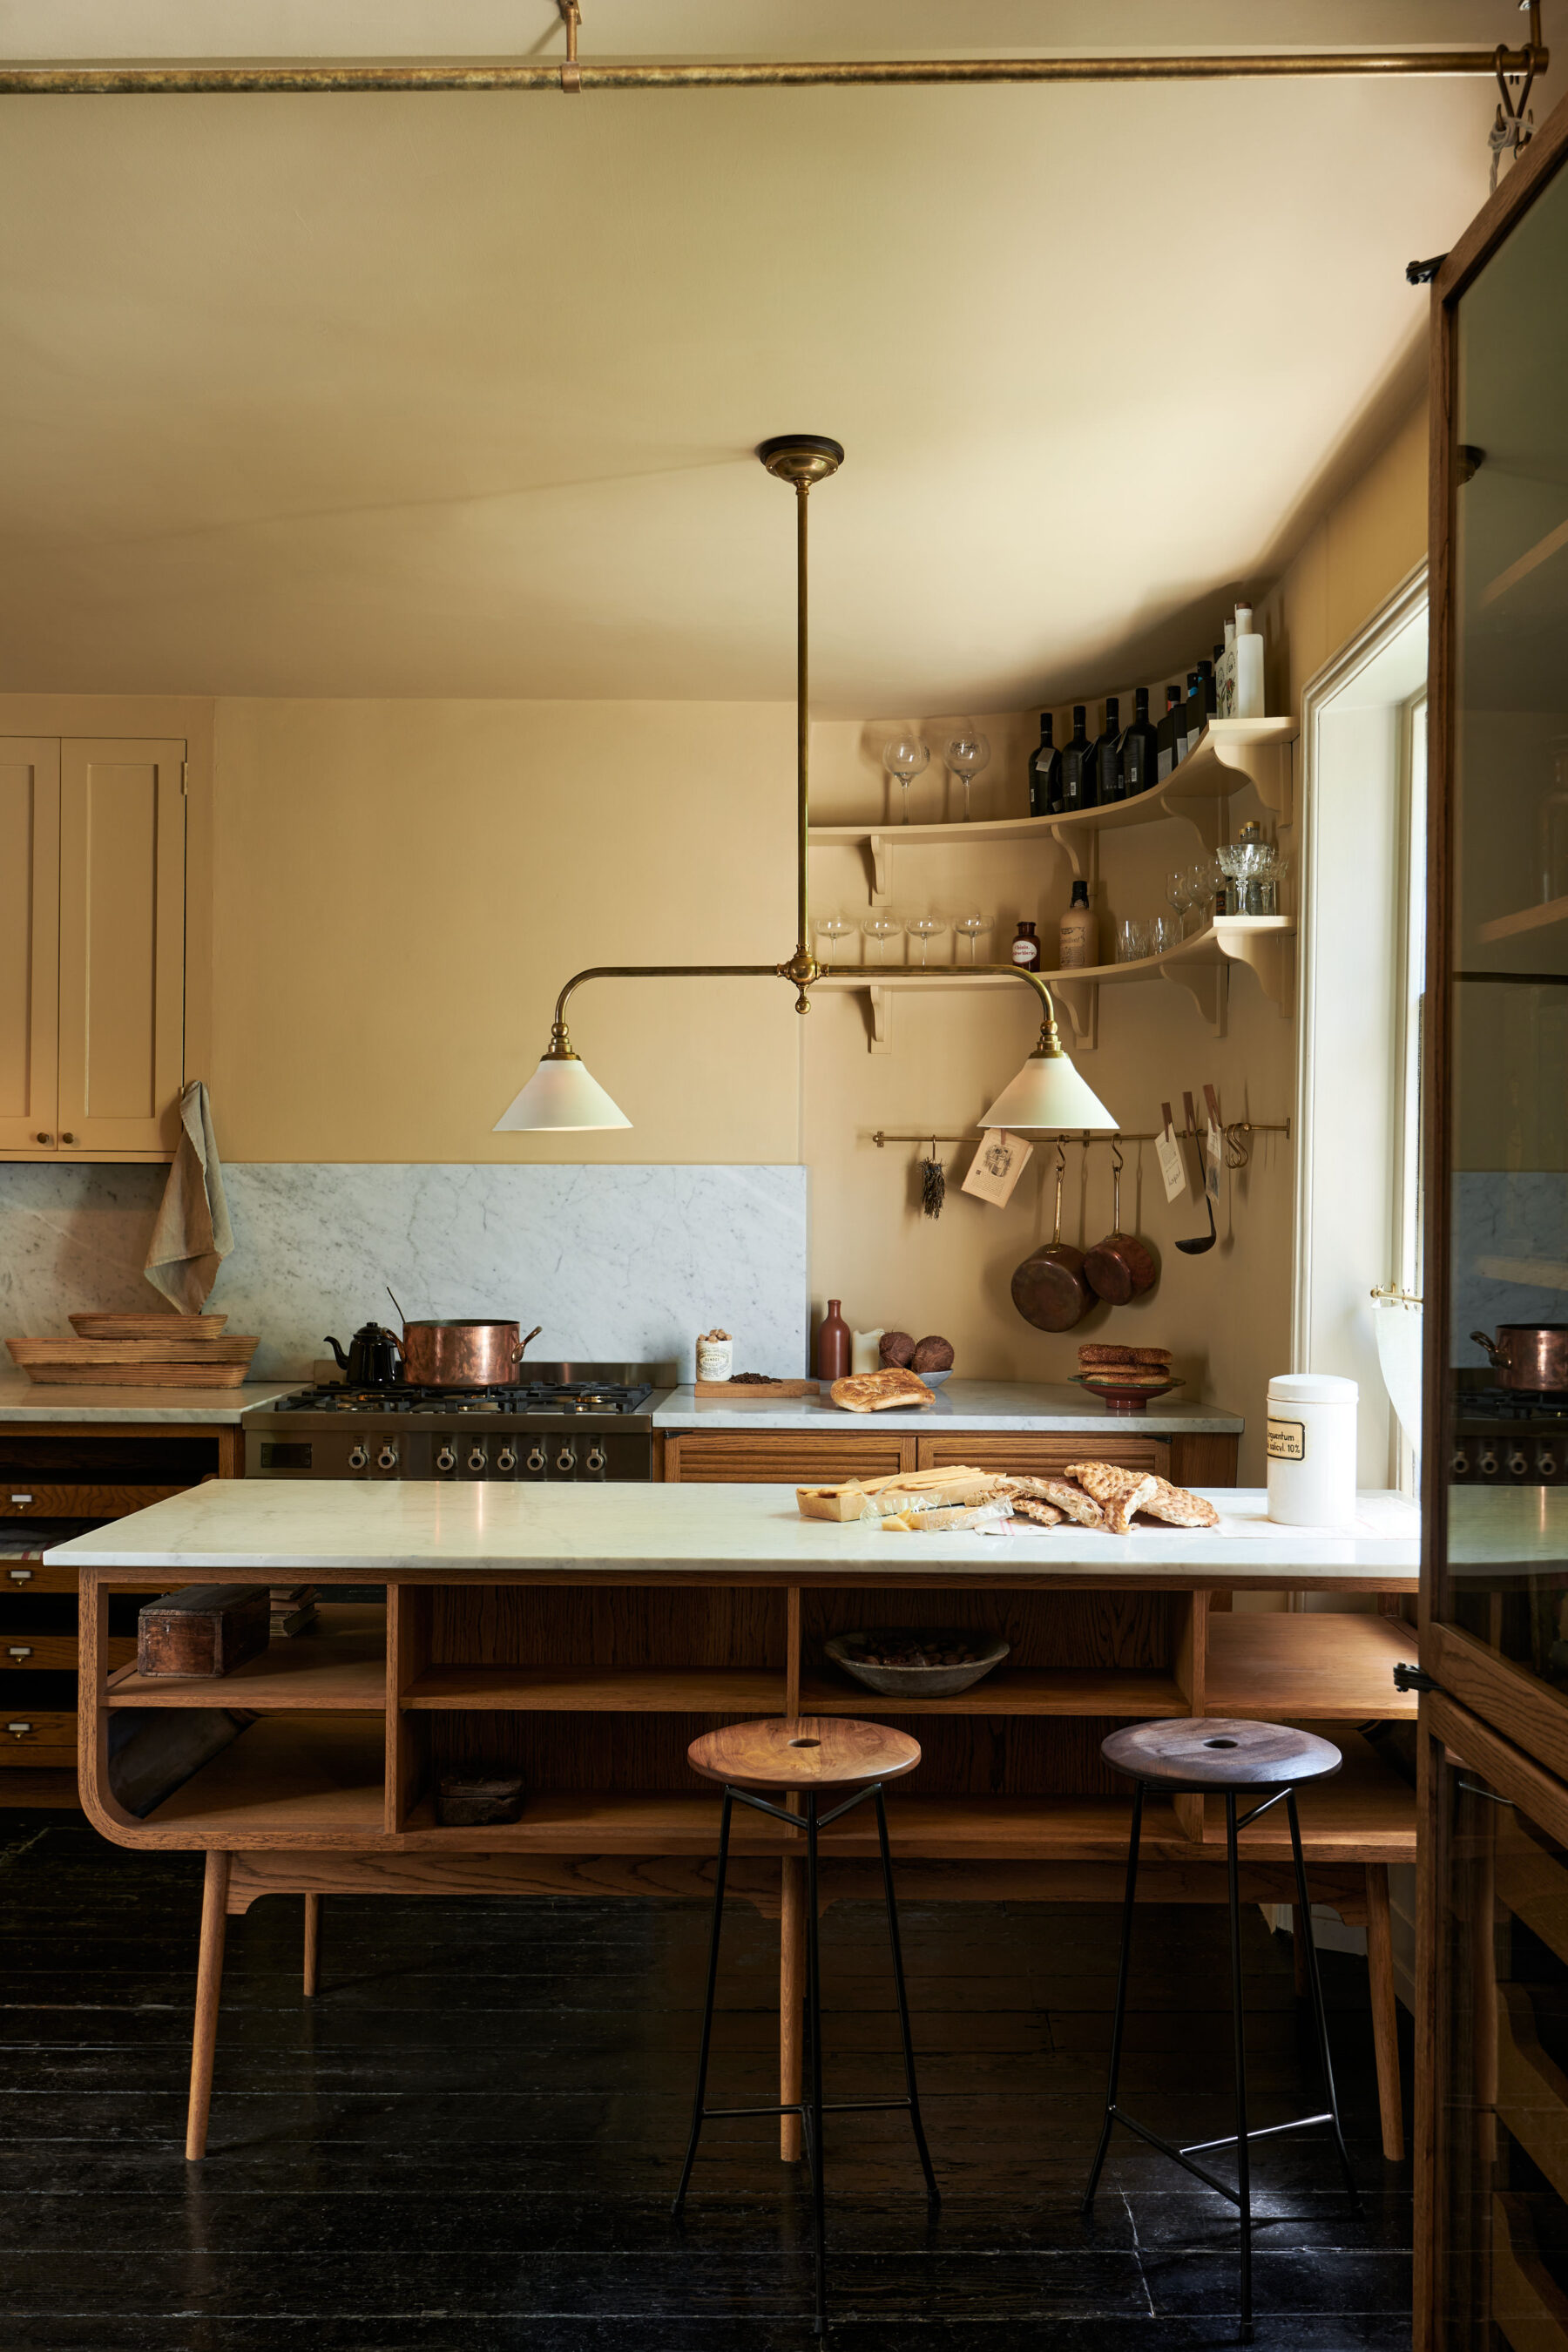
It might seem sensible to just show us where you want your cupboards to go but to make the most of our design service, we need to see the entire room. When designing a kitchen, you really need to consider the full space, will you have a dining table? How open will everything be? How much natural light will you have? The more information we have, the better your design will be. Our team will then be able to draw up elevations from different angles so you can get a real feel for how your new deVOL kitchen will look. It’s also important to try and forget your current layout, there might be something that works so much better that only becomes clear when you see the space on paper.
2. MAKE SURE TO INCLUDE THE CEILING HEIGHT… OR HEIGHTS
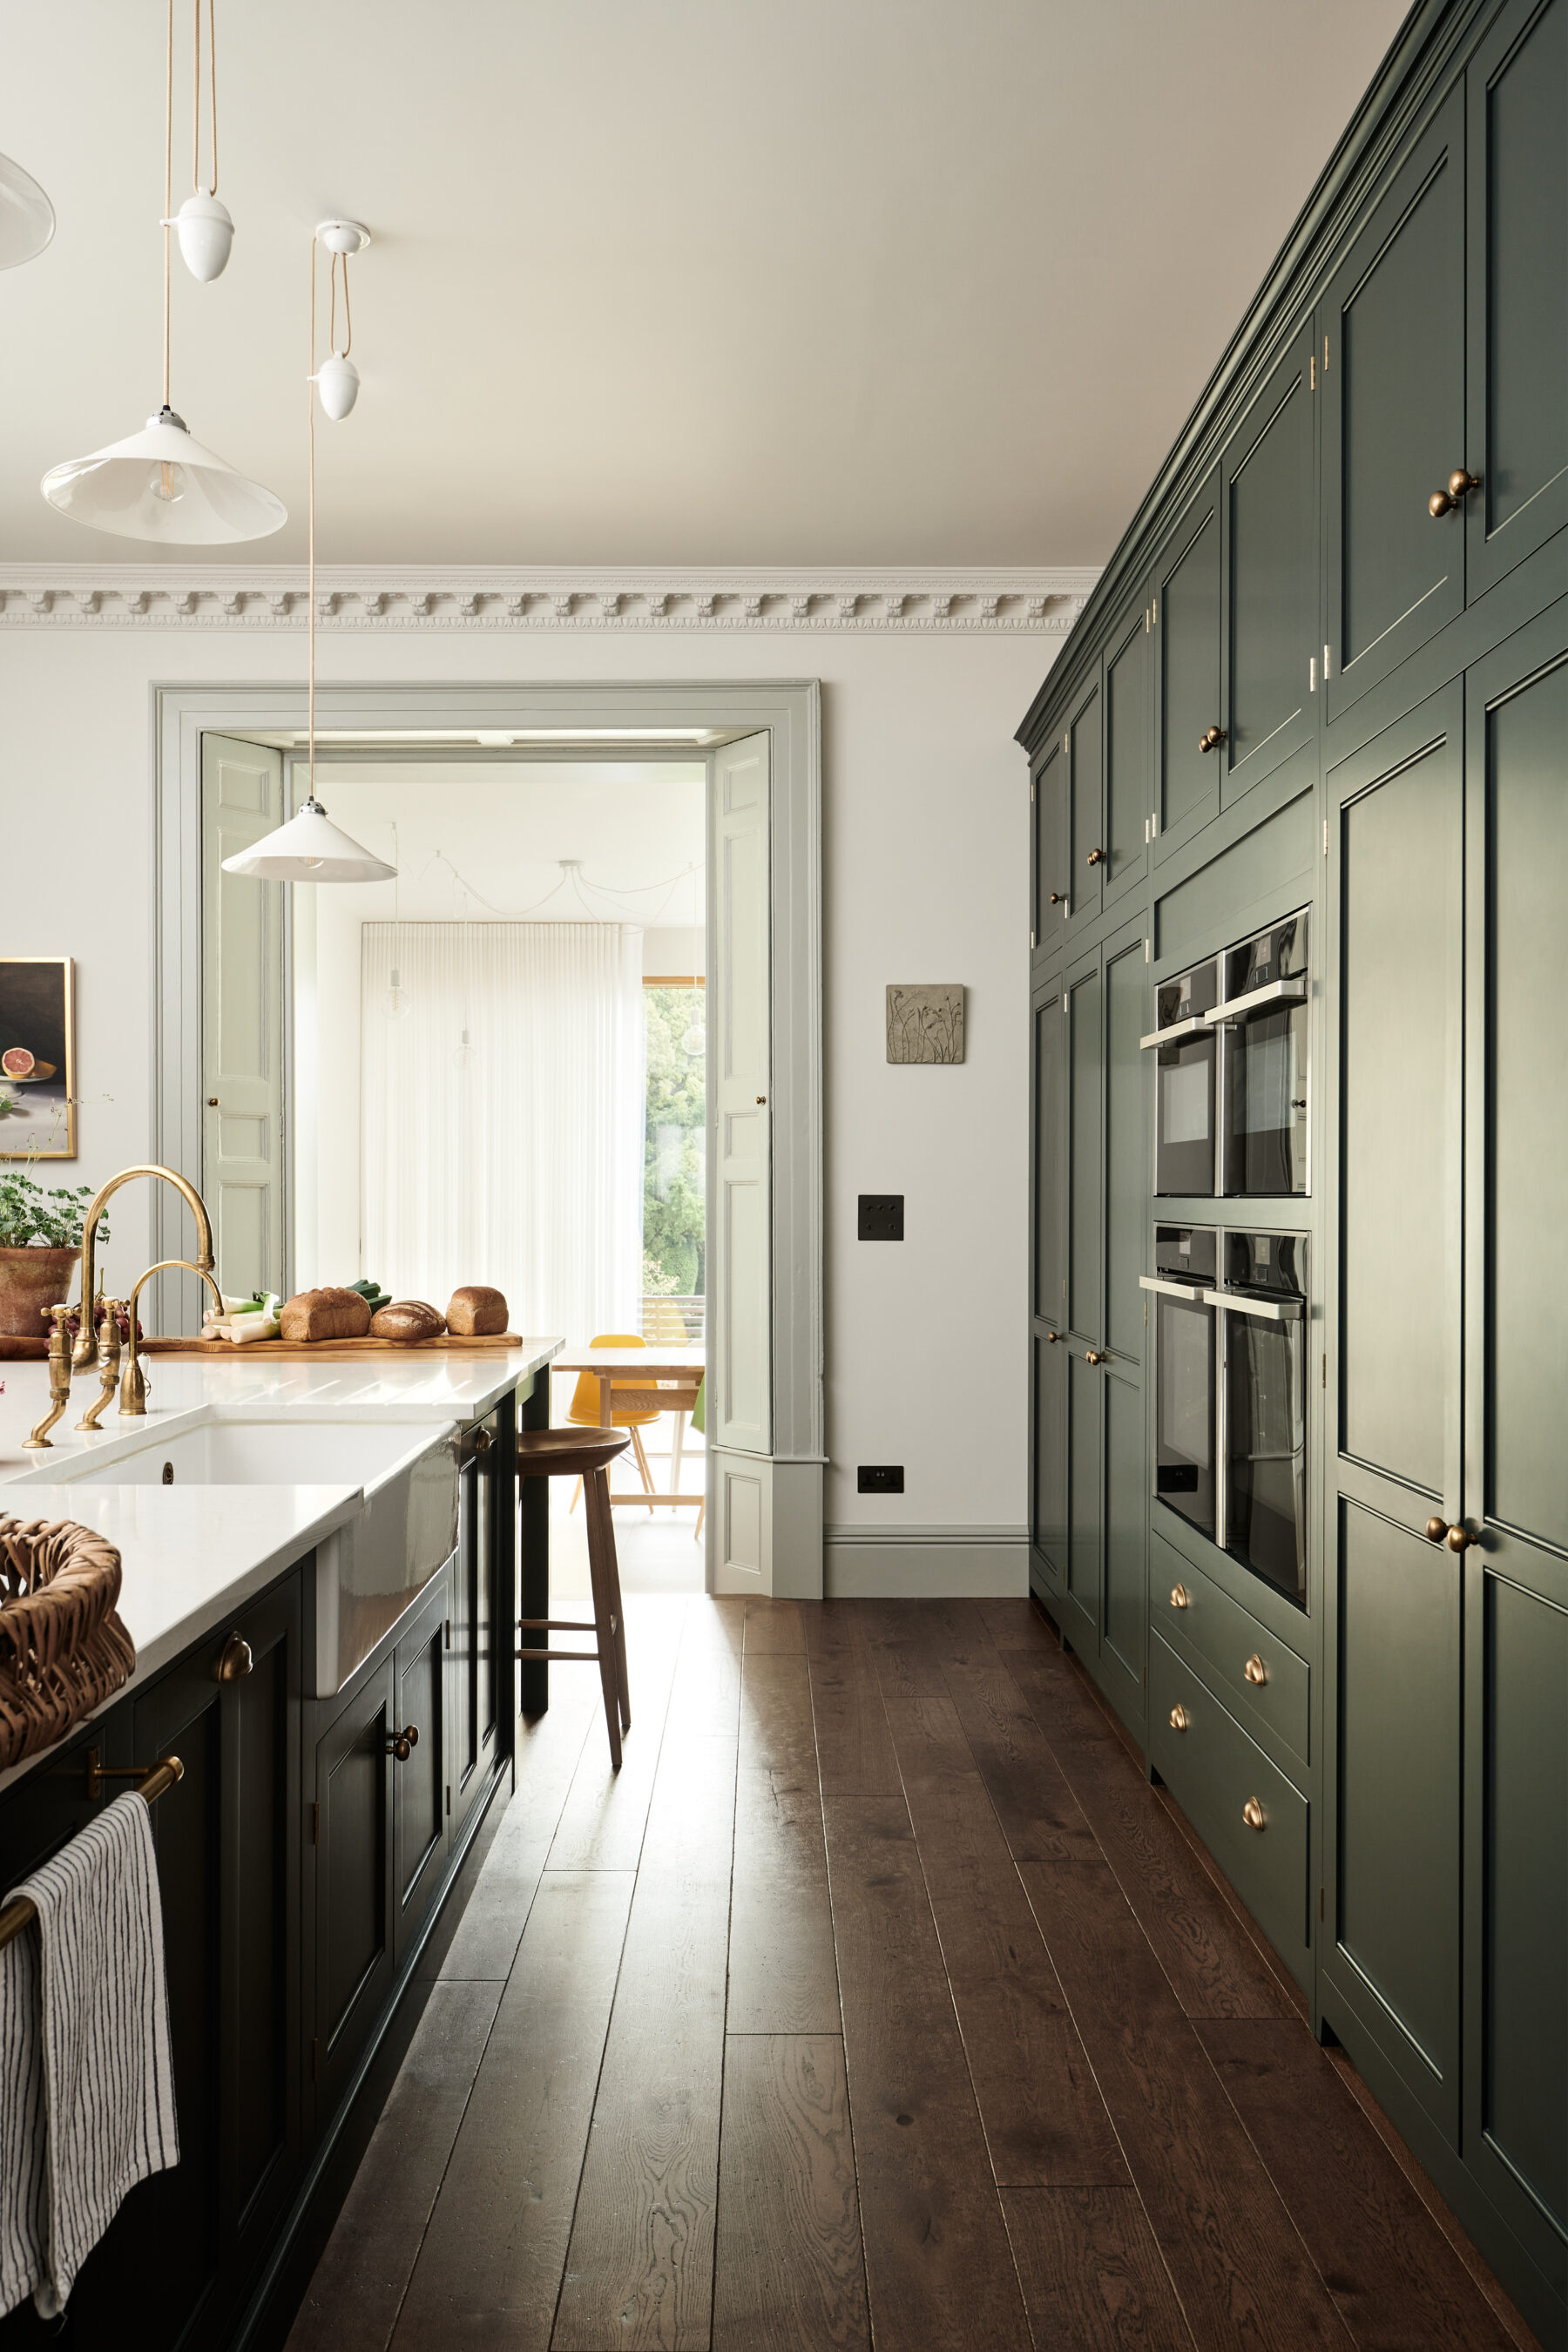
This is key as we need to make sure the proportions are correct so your furniture will fit and look right in the room. The other important thing to note is that sometimes ceilings are angled or taper down so there may be a maximum and minimum height in some areas. Make sure to check this and let us know. If you’re lucky enough to have beautiful old wooden beams, please include the beam height too.
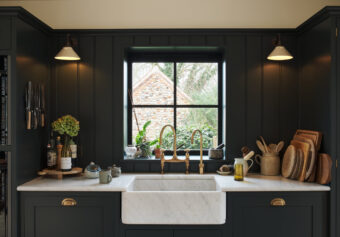
3. DON’T FORGET ABOUT THE DOORS AND WINDOWS
You might think these measurements aren’t relevant as you won’t be putting cupboards in front of doors or perhaps windows either but we really need to know not only their width but their positioning on the wall. Make sure you include the distance of the wall on either side of all the doors and windows so we know exactly where they are in the room. It’s also really handy to include window heights as this may affect the positioning of your furniture.
4. MARK WATER, GAS AND ELECTRIC
Sometimes water and gas pipes and electrical sockets can be adjusted and worked out later in the design process, great! We can do a service plan to let you know exactly where these things need to be but if they are in fixed locations and are unable to be moved, we need to know exactly which walls they’re limited to so we can make sure your sink and cooker will be in the right place. If you do have close-up photos of these types of areas, please do send them over with your plans as it’s often easier to see exactly what’s going on and where things need to be.
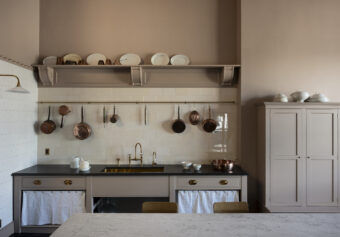
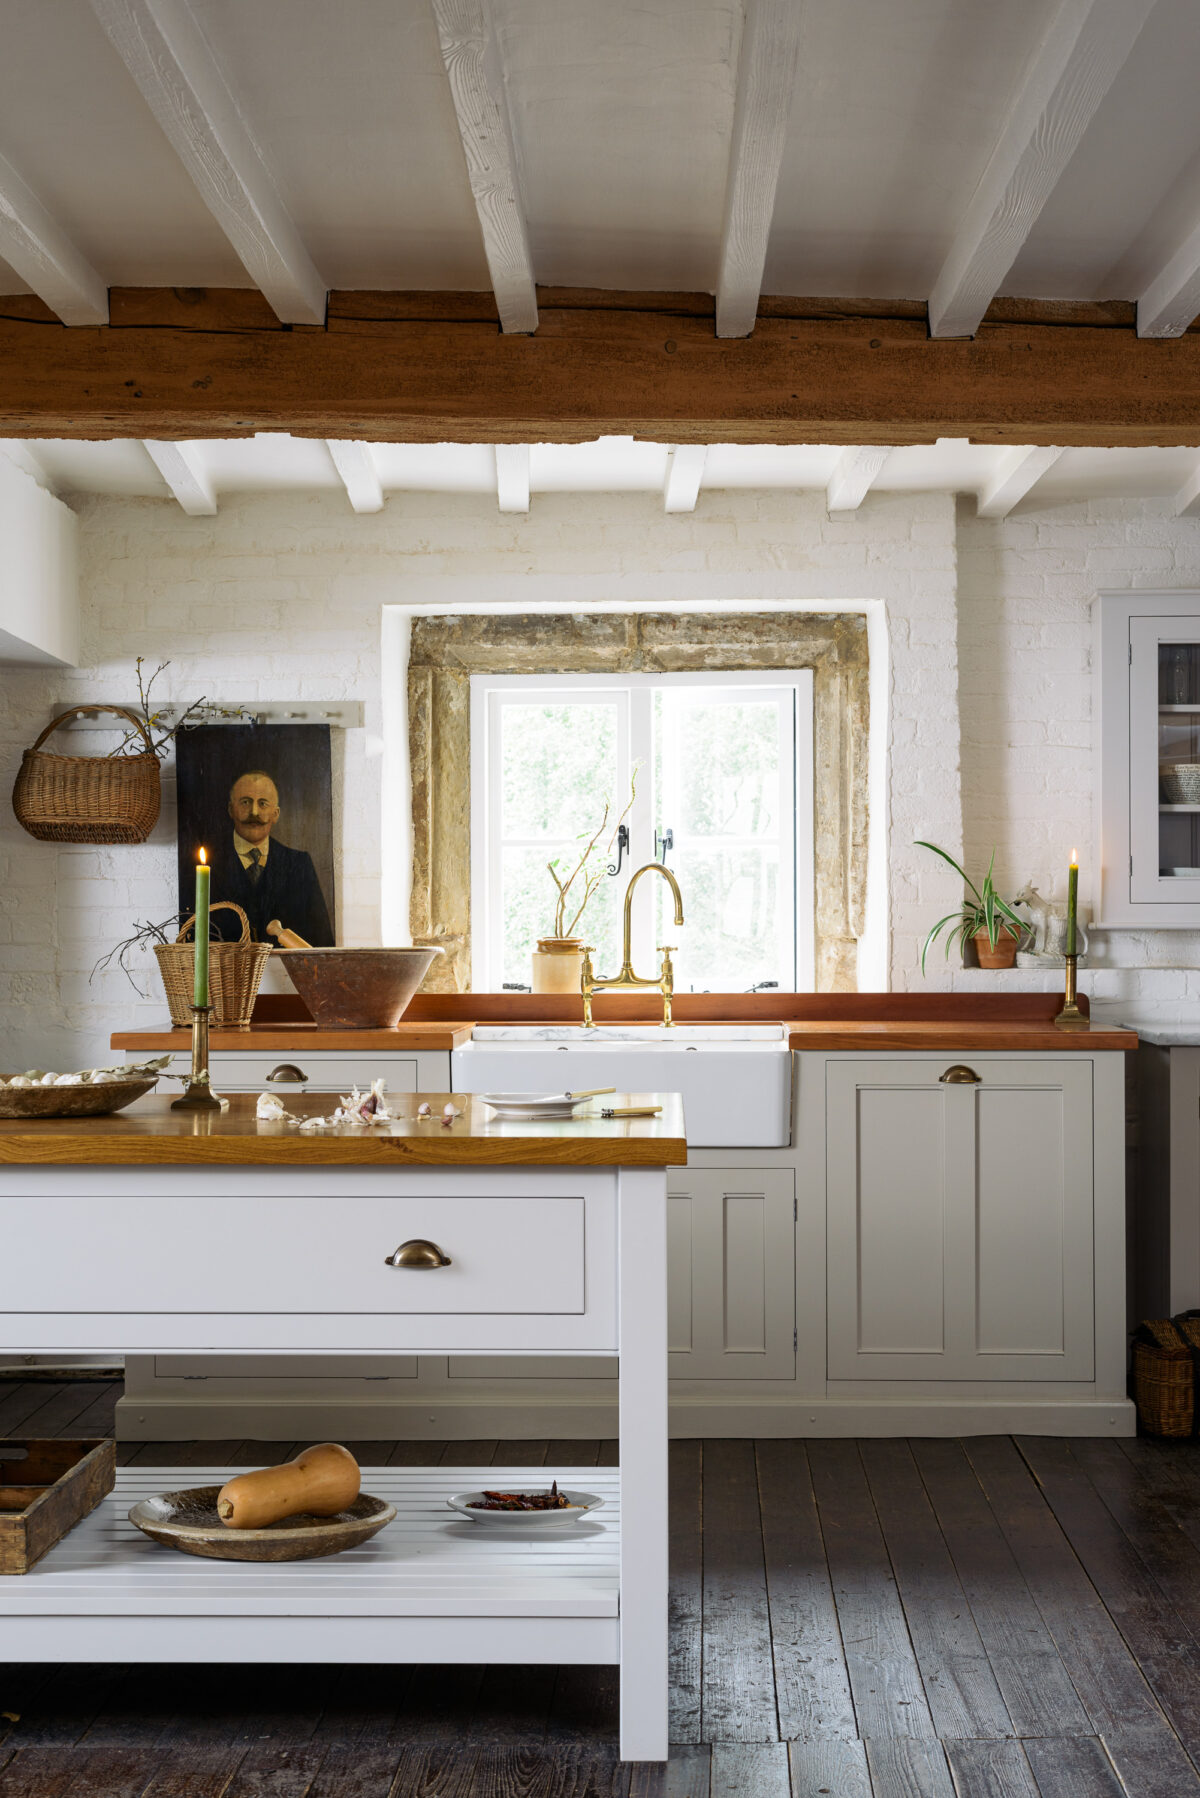
5. DON’T FORGET ABOUT ANY OTHER OBSTACLES
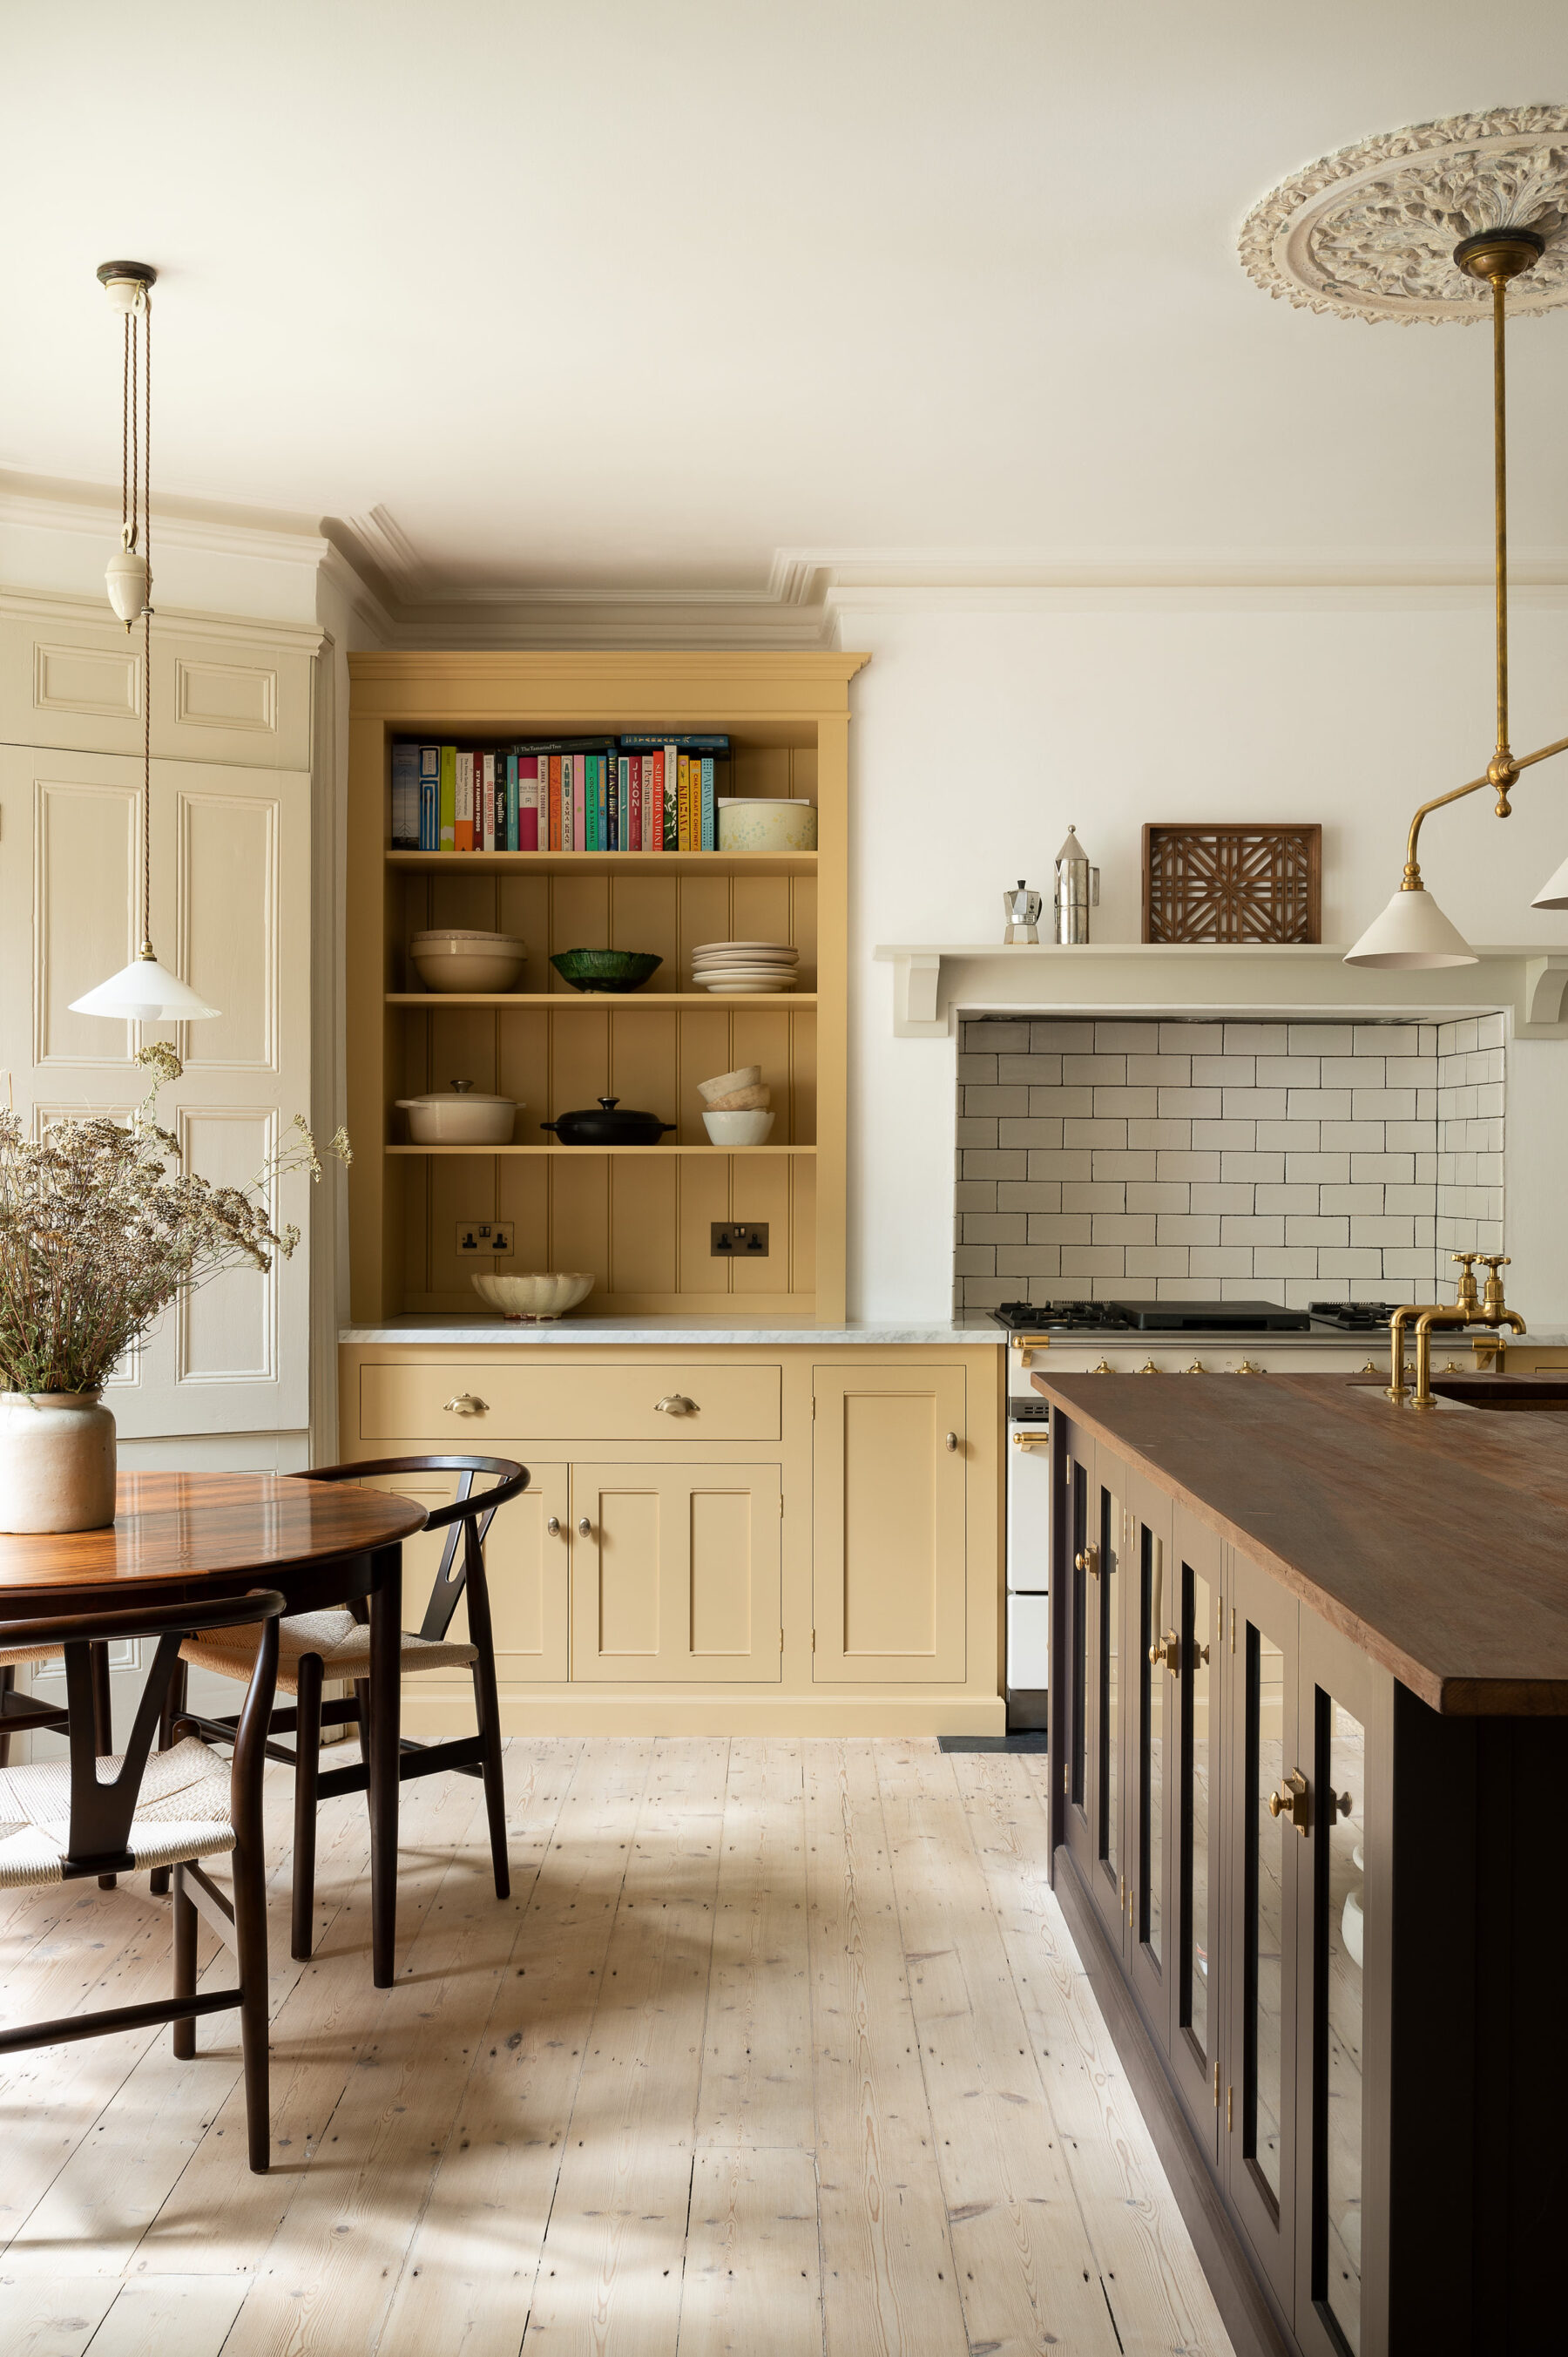
We see all sorts of fantastic features in proposed kitchen spaces, from fireplaces with chimney breasts to old bread ovens, serving hatches and original built-in cupboards… if that’s the case, lucky you!! But these things may obstruct where we can place the furniture so make sure to include the full measurements on your plans. The same goes for boiler cupboards or pipes you can’t move; we can incorporate these things into your design in a really beautiful way but we need to know where and how big they are.
6. IF YOU CAN, PLEASE SCAN
I won’t go into the ins and outs of high and low resolution images but if you’ve ever been sent a picture and it looks a bit blurry it’s basically because the file is too small and the image isn’t a high enough resolution. As you can imagine, this is a big problem if you’re trying to work out precise measurements, it’s not something you really want to guess! So it’s super important to make sure your annotations are clear and that the file you send us is as big as possible. The best way to do this is to scan your drawings but you can also take a photo on your phone, just make sure when you send it you choose “Actual Size” or the largest file size option.
7. BE ACCURATE BUT DON’T STRESS
Of course, you want to try and make your dimensions as accurate as possible but these measurements will be triple checked and checked again before we start making your furniture. If we are installing your kitchen, we will come and do a site visit to make sure everything is perfect but even if you choose to have a local builder fit your new kitchen, things like fillet strips can be shaved down on site so whoever is fitting the cupboards can make adjustments if something is ever so slightly out. With that in mind, the biggest tip I have is don’t stress, keep it simple and have fun… getting a beautiful new kitchen should be exciting after all.
I really hope this was helpful. If you’re still in doubt, here’s a little video I made. I’m no artist or designer but it just goes to show, if I can do it anyone can!